Kilner Fermentation Set

Fermented food is great for gut health, in case you hadn’t heard. Buying fermented ingredients can get pricey, and sometimes there’s just too much in the bottle for you to get through. Fermenting your own ingredients gives you control over how much you have and what goes in it. Enter the Kilner Fermentation Set.
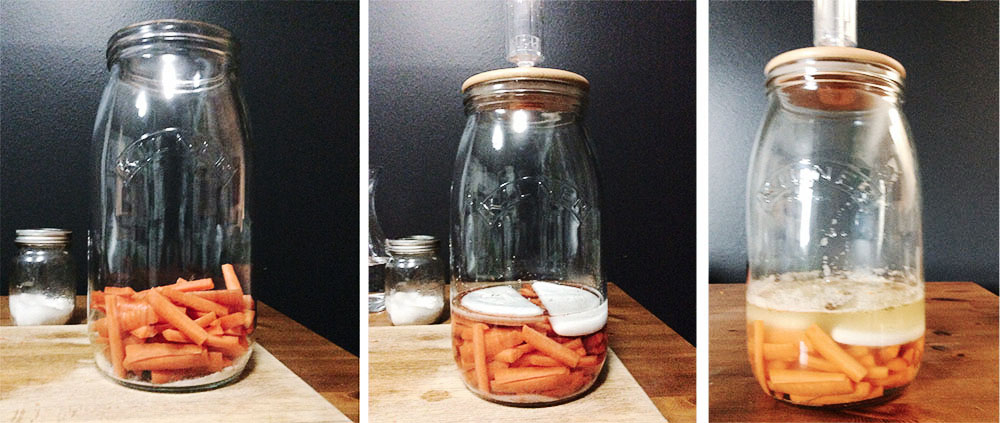
For my first experiment, I made fermented carrots and dill. Prep was quick and easy – aided probably by the fact that there’s no real mixing, just chop and toss in the large fermentation mason jar. The recipe I tried (not one of the many provided with the kit itself, I should note), included carrots, water, salt, dill and garlic. Easily prepped and tossed in the jar. Then you place the equipment on top as per the instructions. Easy peasy.
Even so, I still felt like I was doing a science experiment.
Next step is simply waiting. Watching. There is a visible change in the jar when the fermentation part of the process kicks in. Things start getting bubbly and foamy. When the foam stops growing, that’s when you know fermentation is nearly complete. Most recipes will give you a time frame to wait. For the carrots, it was three to four days, so I waited six just to be on the safe side.
This may have caused the carrots to over ferment. They were nice, tangy but a bit over salted. A great garnish for a Caesar but not so easy to eat alone. The best part is that the fermented carrots will last up to six months!
Overall, the kit is a fun thing to try, though I don’t know if I will use it regularly. It is quite big, made more for bulk fermentation rather than “as you need it” fermenting. It still serves to ferment smaller portions; you’ll just have more jar than food on the counter.
Note of caution: always start off slow when introducing fermented food into your diet. Give your gut time to get used to this new style of food.
